🛌 Hexo-NexT为文章添加介绍卡片
第一步,修改Nunjucks模板
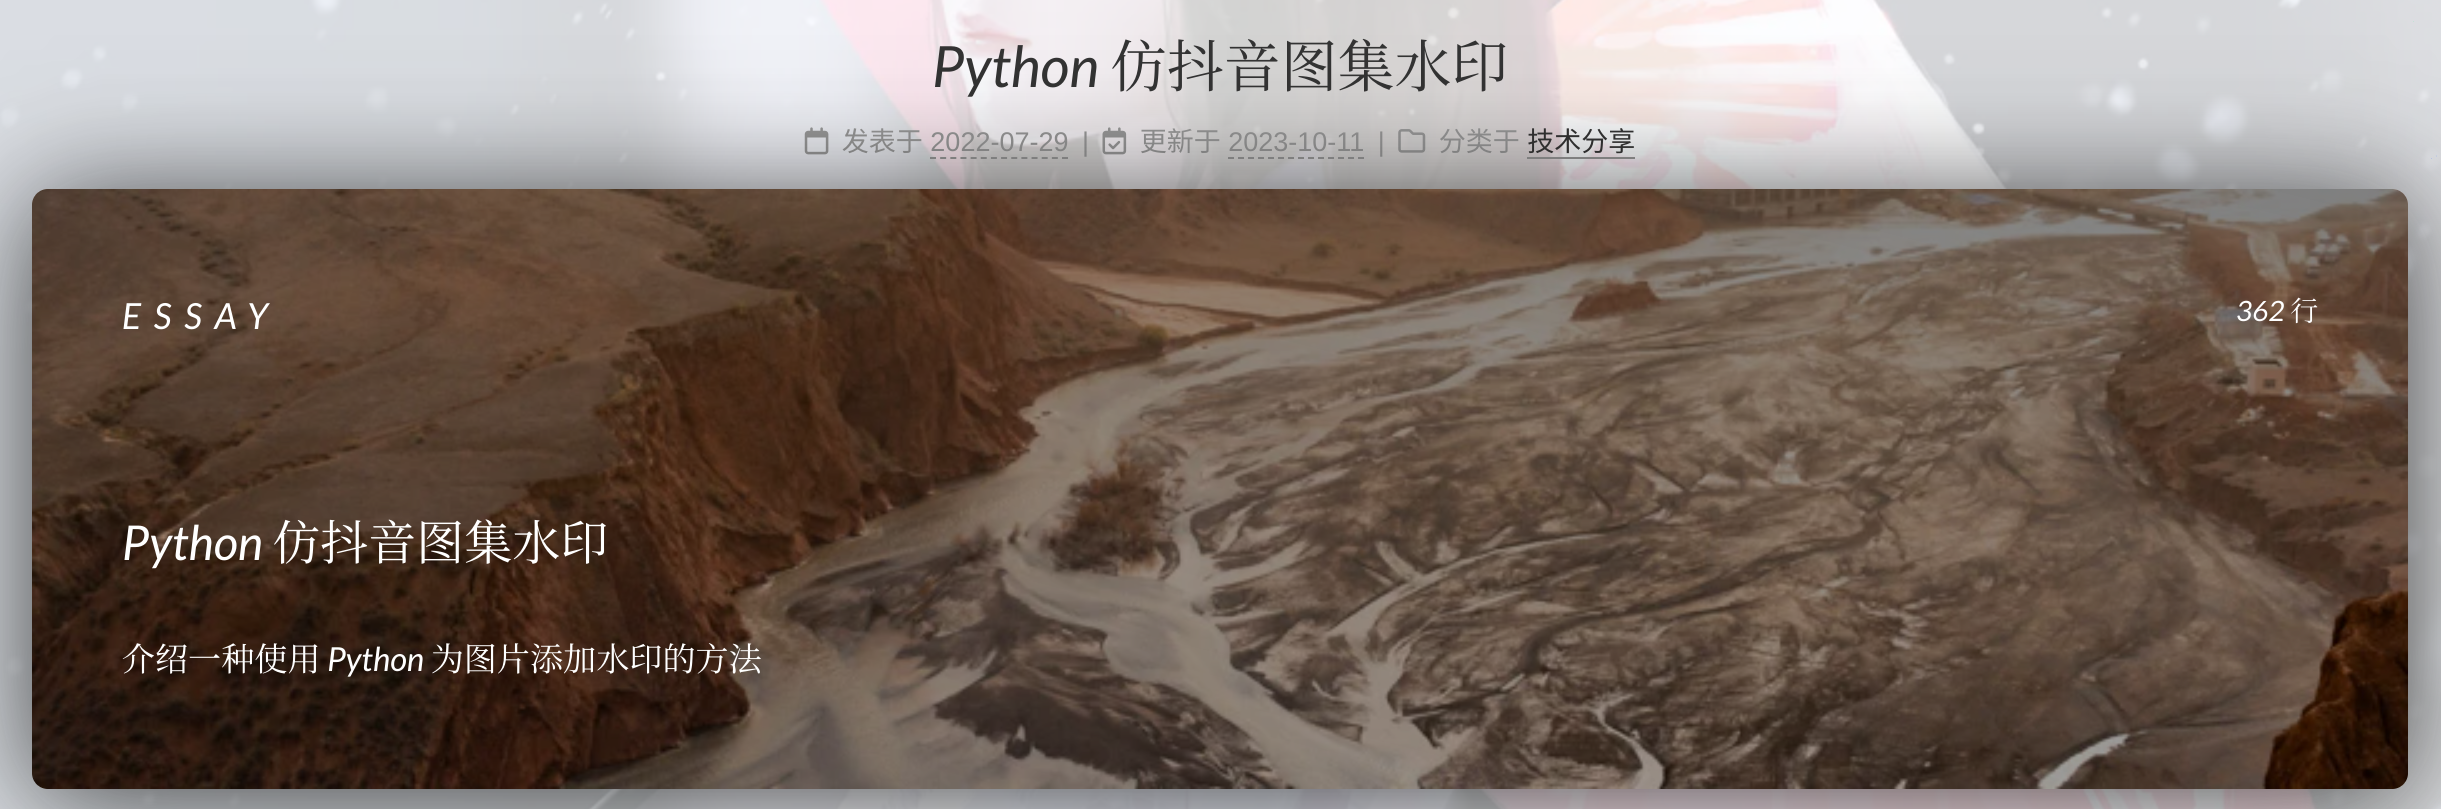
位于:themes/next/layout/_macro/post.njk
锁定展示框的位置,应该放在<header>之后,{{theme.read_more_btn}}之前:
{#################}
{### POST BODY ###}
{#################}
<div class="post-body{% if post.direction and post.direction.toLowerCase() === 'rtl' %} rtl{% endif %}" itemprop="articleBody">
    ...
添加:
{% set randomClass = 'random-bg-' + range(1, 55) | random %}
<myheader class="{{randomClass}}">
    <my_black_layer>
      <div class="upper-myheader">
        <div class="mini-title">{{post.article_type}}</div>
        <div class="date-since">
          <img src="/lib/svg/cloc.svg">
          <p><span class="date-value" id="sinceData">{{post.lines}} 行</span></p></div>
      </div>
      <div class="lower-myheader">
        <div class="title">{{post.title}}</div>
        <p class="subtitle">{{post.subtitle}}</p></div>
    </my_black_layer>
</myheader>
使用的关键字包括:
| 关键字 | 含义 |
|---|---|
post.article_type | 文章类型 |
post.lines | 文章行数、长度 |
post.title | 文章标题 |
post.subtitle | 文章副标题 |
上述关键字可以在博客头部定义,可以通过修改post模板文件实现自动添加上述关键词。
位于:scaffolds/post.md。修改如下:
---
title: {{ title }}
date: {{ date }}
subtitle:
article_type:
lines:
categories:

tags:

---
<div></div>
<!--more-->
第二步,设置随机图片
通过Nunjucks产生[1, 55]的随机数(取决于有多少张背景图片),然后形成随机类名random-bg-x,传递到{{randomClass}} ,如:
{% set randomClass = 'random-bg-' + range(1, 55) | random %}
<myheader class="{{randomClass}}">
这样一来,可以直接定义随机类名的CSS,以对应上不同的背景图片。
使用SCSS可以产生随机数并定义对应的随机类,如:
$photoList: (
        "url(/lib/images/photo-1514908866475-59af9c4069bb.webp)",
        "url(/lib/images/photo-1624291732715-8f01d3a22138.webp)",
        "url(/lib/images/photo-1613100354134-eeaf0ca9ae41.webp)",
);

@for $i from 1 through 60 {
  .random-bg-#{$i} {
    $index: random(length($photoList)); // 生成随机索引
    $photo: nth($photoList, $index); // 获取列表中的对应项
    background-image: #{$photo}; // 生成背景图像URL
  }
}
JS方法(存在Bug)
第一步,修改NexT模板
位于:themes/next/layout/_macro/post.njk
{#################}
{### POST BODY ###}
{#################}
<div class="post-body{% if post.direction and post.direction.toLowerCase() === 'rtl' %} rtl{% endif %}" itemprop="articleBody">
    ...
添加图片条模板
<myheader class="random-bg">
    <my_black_layer>
      <div class="upper-myheader">
        <div class="mini-title">{{post.article_type}}</div>
        <div class="date-since">
          <img src="lib/svg/cloc.svg">
          <p><span class="date-value" id="sinceData">{{post.lines}} 行</span></p></div>
      </div>
      <div class="lower-myheader">
        <div class="title">{{post.title}}</div>
        <p class="subtitle">{{post.subtitle}}</p></div>
    </my_black_layer>
</myheader>
使用的关键字包括:
| 关键字 | 含义 |
|---|---|
post.article_type | 文章类型 |
post.lines | 文章行数、长度 |
post.title | 文章标题 |
post.subtitle | 文章副标题 |
第二步,配置JS脚本设置随机背景
在source/_data/body-end.njk中添加:
<script>
    // 获取所有具有 "random-bg" 类的 myheader 元素
    var myHeaders = document.getElementsByClassName("random-bg");

    // 定义一些可能的背景图像URL
    var bgImages = [
        "url(lib/images/photo-1551668231-6a07c2b7d544.webp)",
        "url(lib/images/photo-1553603227-2358aabe821e.webp)",
        "url(lib/images/photo-1561998344-4bf90978561d.webp)",
    ];

    // 为每个 myheader 元素分配随机背景图像
    Array.from(myHeaders).forEach(function (header) {
        // 生成一个随机索引
        var randomIndex = Math.floor(Math.random() * bgImages.length);

        // 设置随机背景图像
        header.style.backgroundImage = bgImages[randomIndex];
    });
</script>
然而,使用JS时只能对第一页的文章添加背景图片。由于使用了PJAX,切换页面时没有可监听的事件,导致JS脚本无法再次执行,也就是无法生成随机背景。